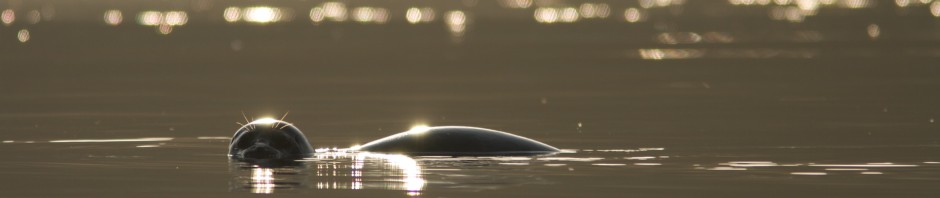
I remember well (although apparently not well enough) reading an article by Galen Rowell (yes, the other Galen) about how he was able to create a diffraction fringe around a fellow climber and his ice axe. It’s a fantastic photograph, his friend standing majestically off in the distance atop a rock jutting out into space, and this line of pure light encircling him. (I don’t have the rights to this image, but a quick web search should get it for you.) And I thought to myself… What a wonderful natural phenomenon to capture. And it’s tickled away in the back of my mind over the years, since I read his article. And over the years, apparently I’d forgotten one of the key factors that is apparently needed to recreate this effect. And no, I don’t mean that I’ve forgotten to carry a mountain climber and an ice axe with me wherever I go. What I’d forgotten is that you need exceptionally clear air in order to allow the light to diffract and bend around the subject in a coherent (visible) way, and you are ideally some distance below your subject.
Yesterday at sunset I did however manage to falsely recreate this effect with a sheep. It turns out all I’ve ever needed was a subject that was fuzzy (or wooly) enough, so that the fuzz could get lit up by the sun and I could pretend that I was diffracting the light around the subject (although this is also a form of diffraction, except that light is having to pass through something solid, instead of simply curving through air).
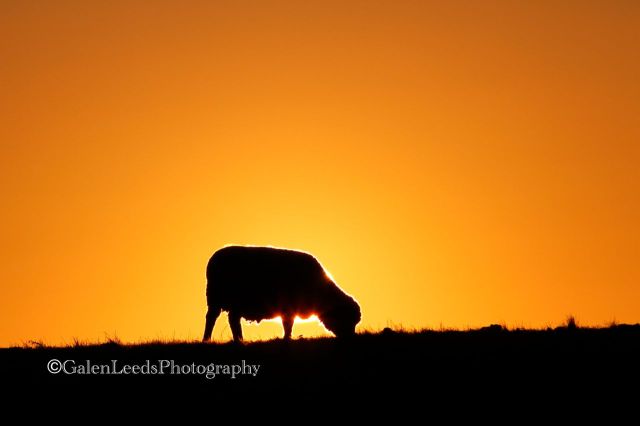
Position the sun so that it is blocking your sheep. I mean subject.
So to break down faux fringing for you. Get yourself a fuzzy subject. A sheep is ideal, although cows can work keep in mind that fuzzier is better… maybe one of those scottish highland cows… Next, get your subject silhouetted against the sky as the sun is going down. Place yourself a proper distance from your subject so that its body will just block out the entire sun. This will likely be forty to sixty feet away, although it will depend on the size of the sheep. Adjust your aperture and shutter speed so that your subject is a silhouetted shape and so that the sky is not blown out. In the case of the above photograph, I had the aperture set to f/9 and the shutter speed was 1/2500 (all of this at ISO 320). You will get similar effects, even at apertures that are stopped down farther, as long as you adjust your shutter speed or ISO accordingly.
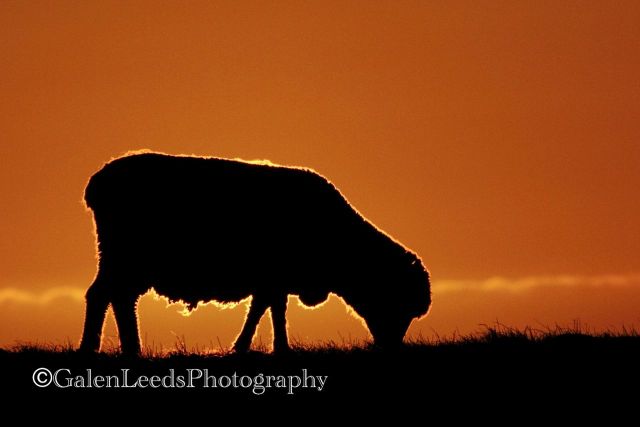
Notice that it is the wool itself that is lit up, that it is not simply a line of light encircling the subject
Here is a cropped down version, so that you can see the wool more closely. Observe that this is not a true “diffraction fringe.” Fuzz was required.


They both work for me! Someday all those other conditions will be exactly right, but for now alighting wool instead of air is lovely.
Thanks. I’ll settle for lighting up the sheep for now also, since they’re a little easier to come by, and it’s a fun effect to play with
Thanks for the tips! I tried for that effect last week with some “fuzzy” snow, but it didn’t work. If I ever see the sun again, I’ll have another go at it using your tips.
I’m sorry you weren’t able to get your “fuzzy” snow. I hope your cards line up for you next time, so that you can share the images with us
Nice effect. Great line about the other Galen.
Thanks. I often figure that most I’m generally the “other” Galen, so it’s nice to be able to trade that place off from time to time.
While I’ve learned some good things reading Galen Rowell’s essays, there’s been times where they’ve also… didn’t work out how I hoped. A good example is was when I tried approaching an elk,with my tripod in a manner that was inspired by one of his essays, but was improvised by me for one person. His method of approaching caribou worked much better than mine for elk.
You make it sound so easy, but I bet it took a lot of patience and skill to achieve this lovely shot!
I actually had headed out for totally different shots, but the opportunity presented itself, so I decided to try and set things up… and happily it worked out. Sunsets can move pretty fast, and don’t always leave much time for planning. I’m glad you enjoyed the shot