A special thanks to Donna from Garden Walk, Garden Talk for taking me to task on never having continued my Birds in Flight series, since it is a topic that I really enjoy. Flight is such an integral part of what a bird is (sorry kiwis, penguins, ostrich, and a few others), that it really is an important action to capture, if we are trying to create images of birds that express “who” they are.
My first tip is for those, who like me, prefer to set a single autofocus point (rather than letting the camera select where to focus), and generally one that is not in the center. My advice? don’t follow your instinct. Use the center point. You will be less likely to lose wing tips or tail, if you are trying to keep the bird centered in your view finder. I prefer in my final composition to have animals (or people for that matter) on one side of the image, and facing across the image (the direction of the gaze will carry the audience through the image), but with birds I will sometimes do this by cropping down the image. It is more important to get the full bird in the image, than to have it perfectly composed in camera.
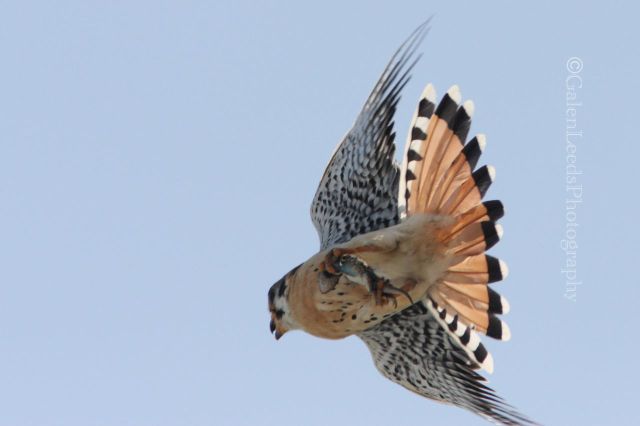
I’m very happy to have gotten this male Kestrel carrying a lizard, but that wing tip out of frame will forever bother me
I have hundreds of pictures of birds in flight that i’ve tossed away, because too much of the bird was out of the photograph. It is always disheartening to almost have a great image of a falcon, and not be able to use it. I still lose some images in this way, but at least the number has decreased.
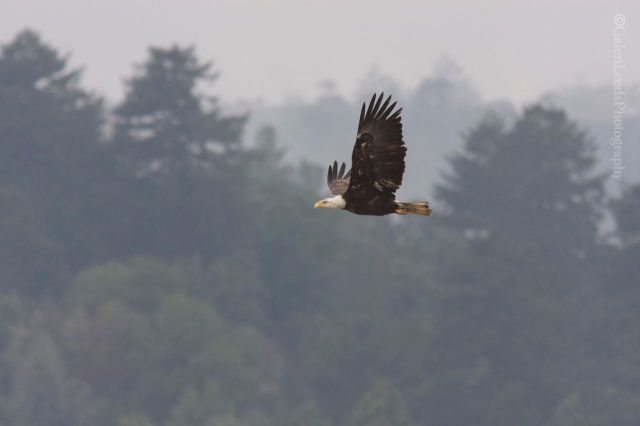
This photograph of a Bald Eagle helps to illustrate my last point (I didn’t worry about the Eagle being to the right or left, but kept it centered), and my next- the bird (unless shooting overhead) will not always be the only thing in the image. If you time your photographs right, and pay attention to the background, as well as the bird, then the landscape can become part of your portrait. Images of wildlife are often more interesting if you can include some of their habitat, or another object to help give them context.
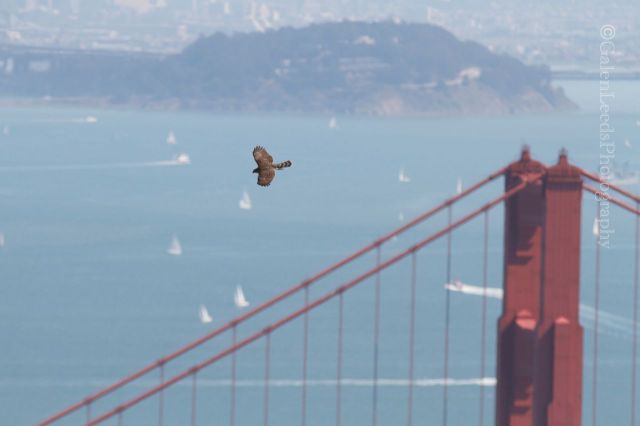
The other day I went to a spot I know about where you can watch the fall raptor migration. It has a rather impressive and iconic setting that I was hoping to include in a raptor shot. The results were mixed, as I couldn’t get any of the hawks or falcons to fly on the exact path that I wanted (they just don’t follow directions!), but at least I was able to get some images of birds and bridge, even if the hawk is a little distance and on the far side of the photo from where I was hoping to place it. I wanted this particular background however, since it easily shows where the Coopers Hawks will pass through on their annual southward migration.
Above I mentioned how the landscape can become part of the portrait. As you can see, the birds can also become part of landscape photograph.
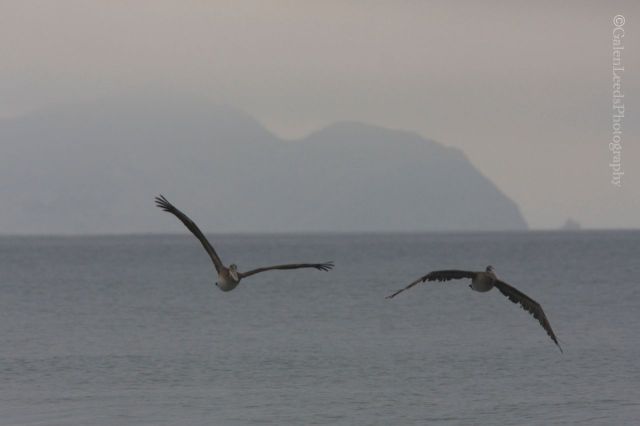
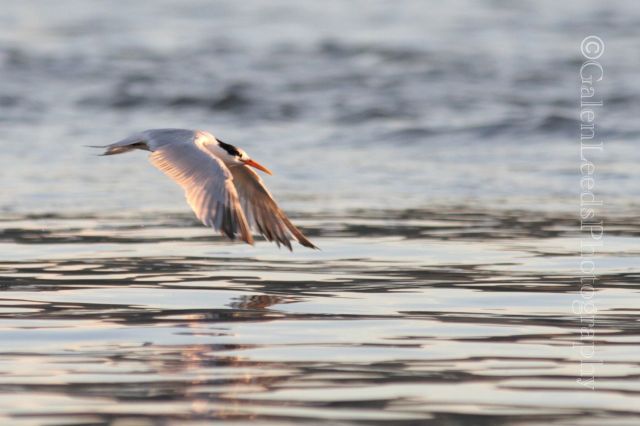
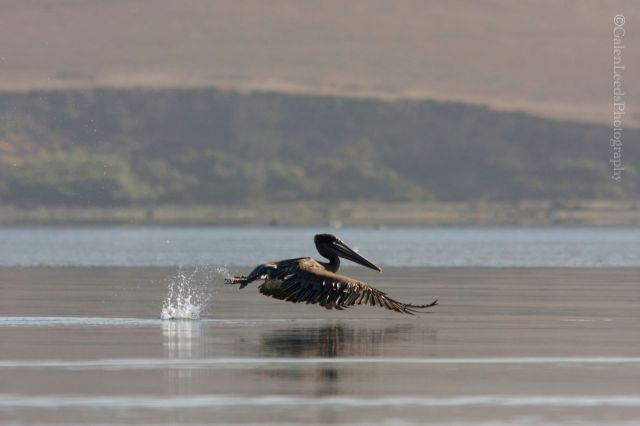
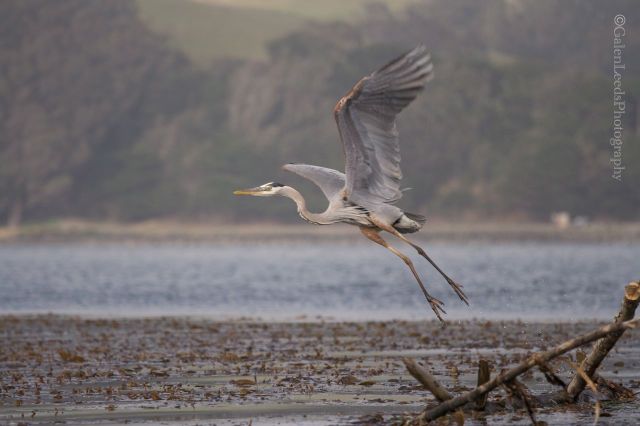
It can be tricky to plan for, since birds can move in so many directions, but when possible try to be at eye level with the bird in flight. There are some ways to improve your chances of seeing them at eye level. Know your species. Water birds spend so much of their time on the water, that they are often flying down low, near it. This includes terns, ducks, pelicans, and so many others.
Be patient and watch birds that are not flying. Most birds will fly at some point. If you can watch them and judge when that moment might be, you might come up with a really fun or interesting image. This pelican was repeatedly diving into the water after fish and then taking off. I paddled my kayak at a comfortable distance, taking numerous photographs, from numerous angles, trying to get images of how they take off from the water. I’ve done the same with terns and osprey. I’ll sit and wait at places where I know ducks will land, so that I can shoot them skidding into the water, and later taking off again. Birds are constantly flying in and out of bird feeders. There are so many options for catching them as they take off and land. Some will be unexpected, so keep your camera at the ready.
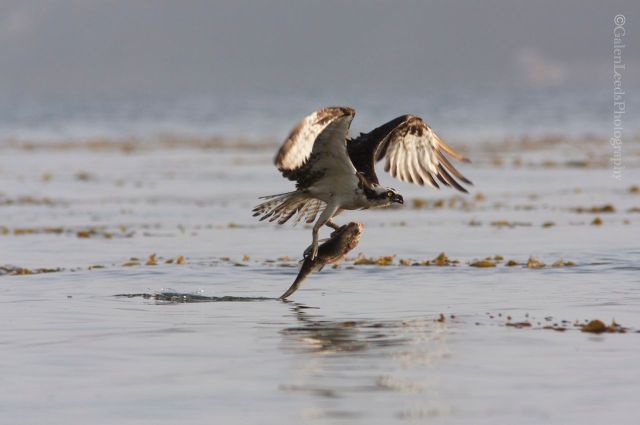
This osprey was eating its fish on shore until a vulture came and spooked it off. I was ready with my camera
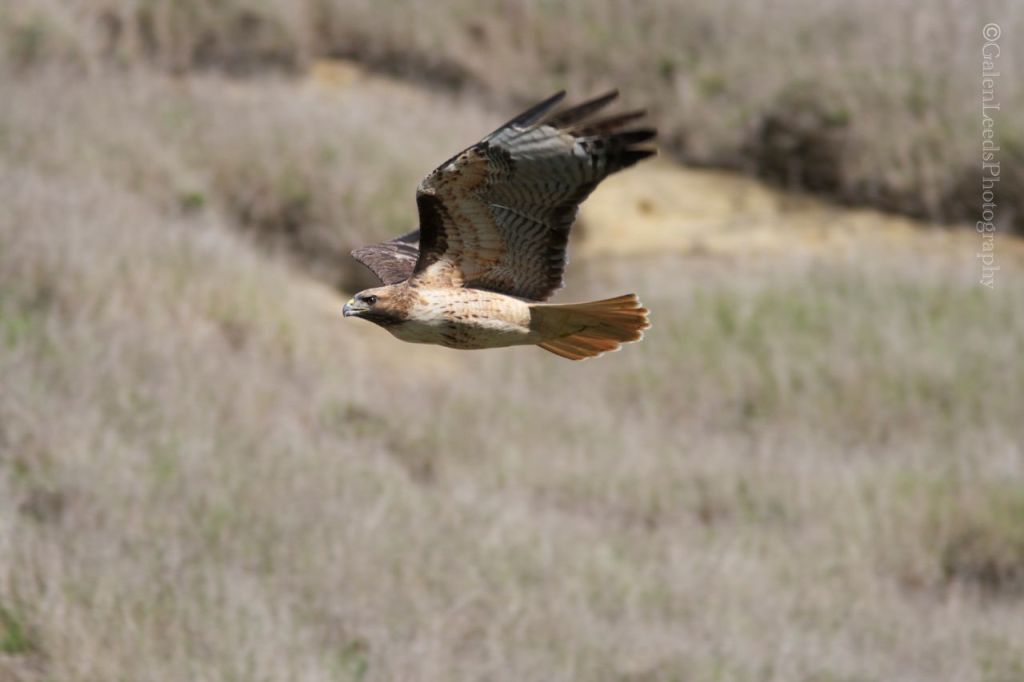
The other way that I increase my chances of capturing birds at closer to eye level is by going to the tops of hills and mountains. I have one bluff near where I live, where I know my chances are really good of seeing Red-tailed Hawks and Vultures flying below me. It’s not an especially tall hill or bluff- maybe 12 to 15 meters, but it is a steep hillside, and I know they like to use it as a flight path for its updrafts.
If you are hiking or kayaking, keep that camera ready. As hard as we try not to, we will still spook some birds up out of the bush, or out of the water. Sometimes we will see them ahead of time, often we will not. Often however, they will be at a good height for a photograph.
Try your best not to spook birds up, but if one does take flight because of you, don’t feel so guilty the you miss out on a chance to create a worthwhile photograph.
If you see a bird flying towards you, and it is still a ways off, get your camera ready to take photographs calmly and steadily (quick movements could spook it into flying a different direction). Stop walking or paddling, and just sit still. Wait for your moment, or even photograph it while it approaches (you never know when it might change directions). The slower and more fluid your motions are, the less chance you will have of disturbing it, and allowing it to approach more closely.
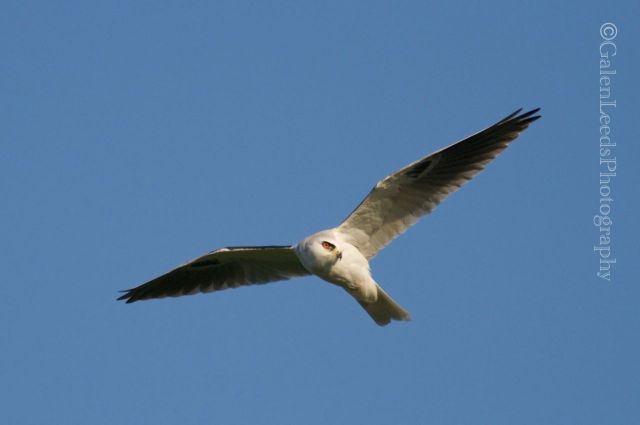
I watched this White-tailed Kite hunting in a field, slowly working its way towards where I was, so I settled in, got comfortable, and took photographs as it flew my way and got fairly close
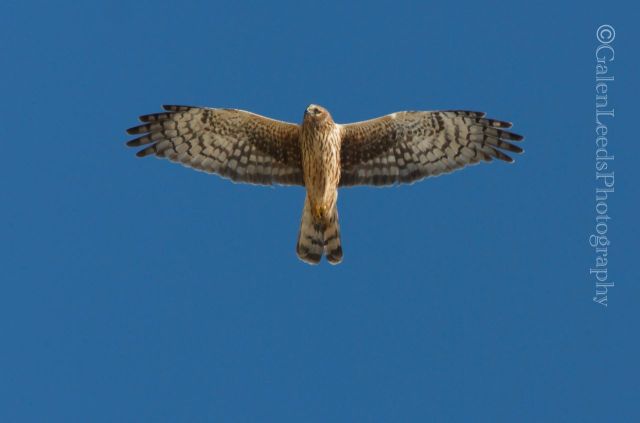
Most important is to just watch the birds and how they move. The better you know the birds you are photographing, the better you will be able to judge when to press that shutter button for an interesting image. Watch for unusual behavior, or special behavior and photograph it. Don’t worry if the shot doesn’t turn out, try again.


Thanks for those great tips. I’m glad Donna reminded you to make this post.
Always a pleasure, and I am also glad Donna gave me the reminder
Thank you for sharing your incredible photos and advice.
Your welcome
These are fantastic, Galen! I love all of them and thank you for the photography tips!
Thank you. I’m very happy you enjoyed them. I’ll ty to keep the tips coming
wonderful photographs, thank you for the tips.
Thank you so much for the second in your series. I learned so much from the first one and this one continues with more great advice. I really took my time looking through the slideshow. With your explanation, I could readily see WHY they are wonderful shots. Especially those at eye view. It is one thing to look at a photo and say it is beautiful, but so much better to know what makes it so.
The advice on center focus is good advice. Like you mentioned, too often you lose a wing tip, so having the bird centered raises the chances of having the whole bird in frame. I was always trying to frame to one side or the other.
Do you use a 600 mm or 800mm lens? You are so very ‘close’ to the birds. Oh, and thanks for letting me know the masked bird is a tern. I saw it in the slideshow and was going to ask what were the pretty white birds with the ‘racoon’ mask.
Great collection and sound advice. Thoroughly enjoyed this.
What a lot of useful tips, combined with so many great shots. Thanks!
Terrific BIF photos!
Thank you